Crochet is a creative and relaxing activity, but changing yarn while working on a project can be a challenge. If you are a beginner, you might not know how to join a new yarn simply and effectively. In this tutorial, you will learn how to perform this basic technique step by step, with images that will guide you through each phase of the process.
Before starting, it’s helpful to understand the process in a general way. Joining a new yarn may seem complicated at first, but with practice, you will soon feel much more comfortable. Throughout this tutorial, you will see that there is nothing to fear. The most important thing is to stay relaxed and ready to enjoy every step.
What do you need to join a new yarn?
Before you start the technique, it’s essential to have the right materials. Make sure to have your yarn in the desired color and a crochet hook of the correct size. It’s also helpful to have scissors and a tapestry needle handy. With all these elements ready, you will be prepared to start learning how to properly join yarns.
Additionally, it’s a good idea to have a small notebook on hand to jot down any details that catch your attention during the process. Writing down your experiences will help you remember what worked well, what mistakes you made, and how you solved them, which is invaluable when you start working on more complex projects. Remember, practice is key to improving your skills.
Yarns
The types of yarns you can join vary, and each has different properties. You can choose between cotton, acrylic, or wool yarn, depending on what you’re crocheting.
It’s important that the new yarn has a thickness similar to the yarn you have been using, to maintain consistency in your project. Make sure that the texture and color complement your work and do not contradict the visual harmony of what you have already crocheted.
Crochet hook
Selecting the correct crochet hook is key for any project. Make sure the size of the hook is compatible with the thickness of the yarn, as this will affect the finish of your crochet work.
A hook that is too large or too small can cause your work to look disproportionate. Remember that good handling of the hook will also facilitate the joining of the yarns, allowing you to proceed without complications.
Basic technique for joining a new yarn
Joining yarns is essential in many crochet projects, especially those that require more length. Here’s how to do it effectively. The key is to follow each step carefully and practice the technique, which will give you more and more confidence.
As you practice this technique, you’ll feel more confident to experiment. Don’t hesitate to try joining yarns in different colors to give a personal touch to your work. Smooth transitions are not only aesthetically pleasing, but they also help you develop your own style in your projects. Frequent practice will make joining yarns a part of your crocheting routine.
Step by step to join yarns
1. When you are about to reach the end of a skein, leave a length of yarn sufficient to tie a knot. Approximately 10-15 cm is ideal.
2. Take the new yarn and place it next to the yarn you are currently using. This will help make the transition much smoother.
3. Make a simple knot to secure the join. You can opt for a square knot for more security. This will help prevent your yarn from slipping.
4. Continue crocheting with the new yarn, ensuring that the join is tight to avoid unraveling while you work. It’s normal to feel insecure in your first attempts, but with practice, it will become easier.
5. If you are using yarns of different colors, try to place the join in a discreet spot, so it does not show in your finished work. This will maintain the aesthetics of your project.
Common mistakes when joining yarns
It’s easy to make mistakes if you’re not familiar with the technique. Some beginners tend to:
- Join yarns of different thicknesses, which causes uneven tension. Make sure to choose the yarn wisely to avoid future problems.
- Make a knot that is too loose, which can come undone over time. This may cause the join to break, and you’ll have to start over.
- Forget to secure the join well, which can lead to tears in the fabric. Always pay attention to every detail for optimal results.
Remember, it’s also common for beginners to not know how to adequately hide the loose ends. This can cause them to unravel during use, so I recommend taking the necessary time to ensure everything is well secured and hidden within your work. With patience and attention, you will refine every technique, including the joining of yarns.
Practical tips for a better join

Learning from the experience of others can help you improve your skills. Here are some tips that can make your life easier when joining yarns. Don’t underestimate the importance of these tips; they can make a huge difference in the quality of your work.
Additionally, investing time in observing other crocheters and learning from their methods will open you up to new ways of joining yarns. Sometimes, the visual techniques you see in tutorials or social media can offer you shortcuts or tricks you hadn’t considered before. The crochet community is vast and generous, so don’t hesitate to take advantage of all the resources available around you.
Use a tapestry needle
Using a tapestry needle to secure the ends of the yarns can be very helpful. This will allow you to hide the knot and the loose ends in the work, making your project look cleaner and more professional.
Simply weave the ends into the fabric as needed. This way, you ensure that there are no loose yarns that could bother you.
Practice on swatches
Before applying the technique to final projects, I recommend practicing on swatches.
This will give you the confidence you need to do it correctly and allow you to experiment with different types of yarns and joins before incorporating them into your works. Remember, practice is key to acquiring skill and improving your technique.
Inspirational examples of projects that require joining yarns
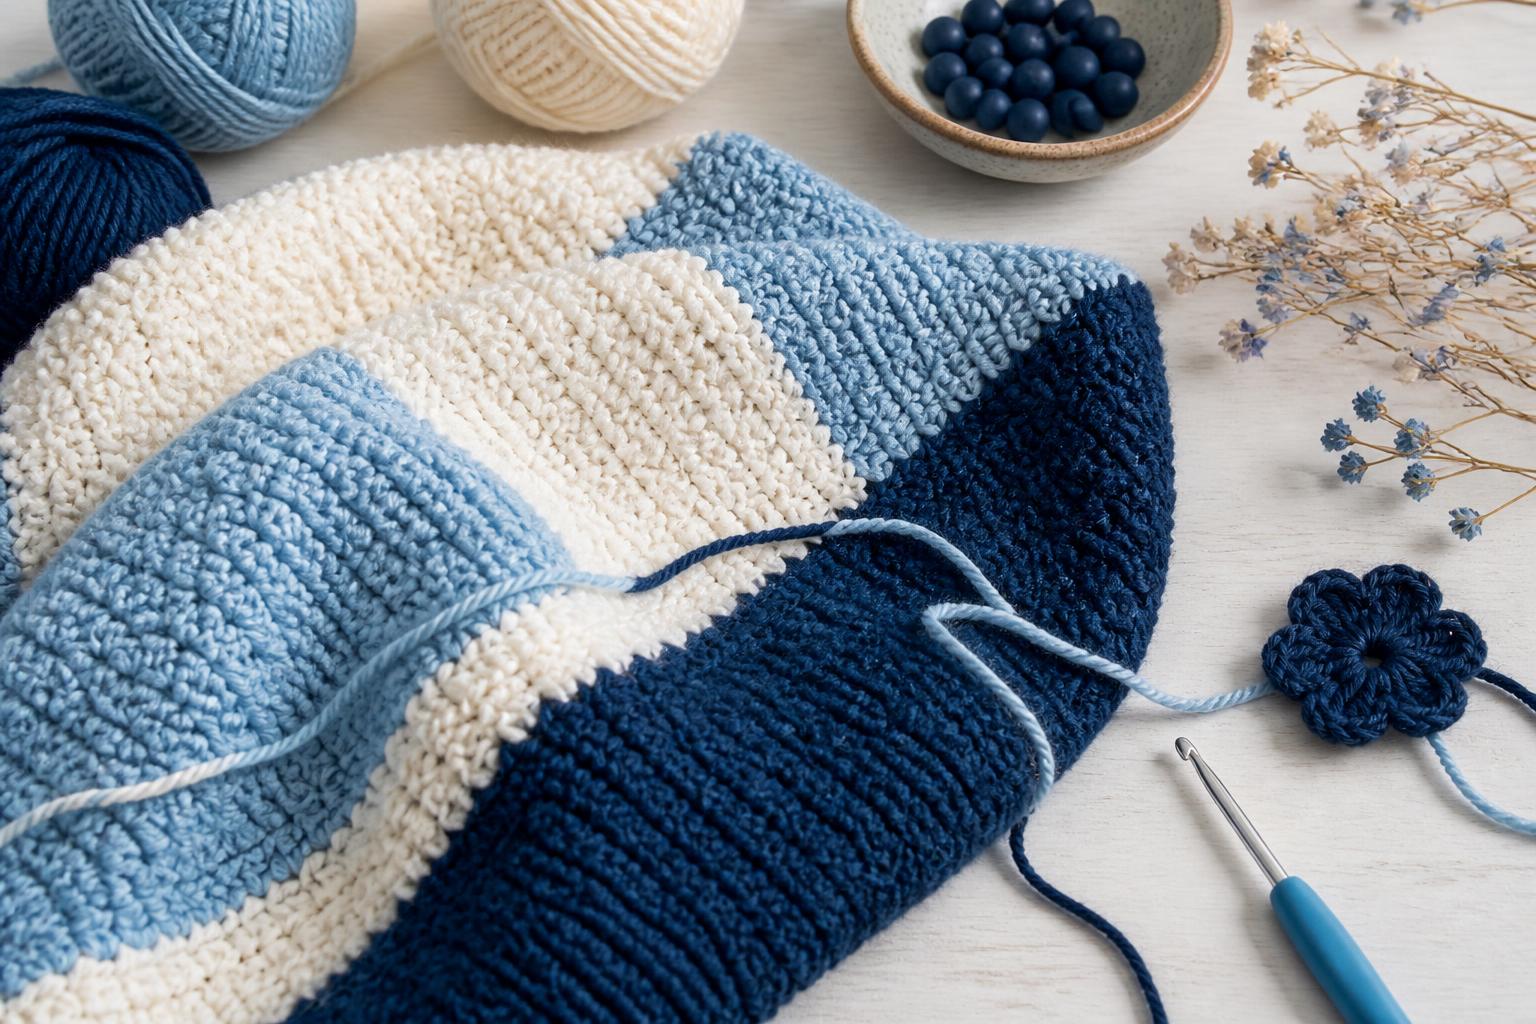
Seeing clear examples can motivate you to practice and apply the technique of joining yarns. Many projects require this skill; here are some examples you can consider for improving your technique.
Another ideal project to practice this technique is scarves or cowls with different colors. These projects provide a great opportunity to play with the joining of yarns, and you can see how your color choices impact the final design. Additionally, they are practices that are also useful for gifting and sharing with friends and family, adding even more value.
Granny square projects
Granny squares are fantastic for learning to join yarns. You can use yarn scraps and work in small sections, joining new yarns each time you change colors.
This practice is not only useful but also very fun, as it allows you to experiment with a variety of colors and textures.
Crocheting color-blocked blankets
Creating colorful blankets necessitates mastering the joining technique. This skill will allow you to play with different shades and textures in your project. In the end, you will have a beautiful blanket that is not only functional but also a reflection of your style and creativity.
Remember, practice and patience are your best allies in the world of crochet. Don’t hesitate to make use of all the tools at your disposal and, above all, enjoy the learning process. Over time, you will become a great crocheter, and you will be able to share your knowledge and experiences with other beginners.
Deja una respuesta